For anyone wishing to try their hand at vaping off a dab rig for the first time, there are a few important things to know ahead of time. One of them is how to break in and prime your dab coils before using them initially. Without doing so, you risk completely frying the coil outright. It is essential to know how to properly break in your vape coils before trying to use them full on in a vape session. In this article, we will be going over how to properly break in and prime your vape coils prior to usage.
What is a Vape Coil?
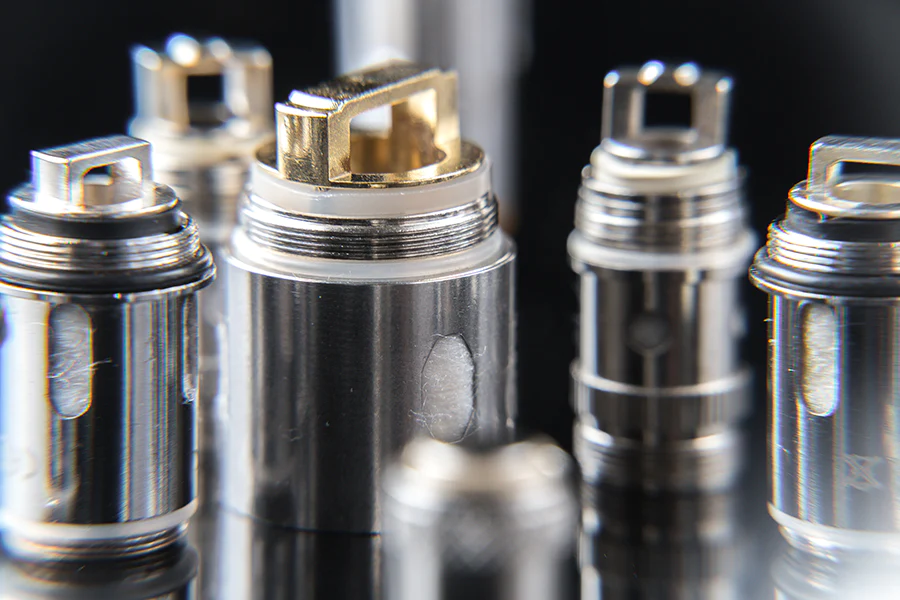
Vape coils are cylindrical components that are used to heat up the atomizer by way of a wire and wick, usually all contained within one piece. They are usually made of stainless steel and nickel, though other metals can also be found in the manufacturing of a vape coil. The coils themselves resemble flattened springs.
As the unit is turned on, electricity runs through the coil wires as a controlled current that is adjusted via a variable wattage dial. This will cause the coil to quickly heat up and glow an orange red. If the wick contained within happens to be dry, however, you will quickly notice a distinct burning flavor.
When adjusting the variable wattage settings for heating your coil, never go above the recommended usage setting provided by the manufacturer, as this could cause irreparable damage to the unit or cause your coils to fry, not to mention burning out your wicks. Vape coils are not that difficult to understand, and priming is much easier than you think.
How to Prime a Vape Coil
All sub ohm vape coils require priming prior to initial use. Sub ohm vaping requires the use of an atomizer with a resistance of less than 1.0 ohms. Lower resistance means more power drawn out from the battery, which translates to massive clouds of vapor! The good news is that priming your coils is not a long process, unlike priming a nail for example.
Start by threading your new coil to the base of your tank. Moisten your wick by dropping a few drops of e-juice directly onto the top of the coil. Make sure you place a few drops onto the cotton that is visible through the juice ports as well. Assemble the tank back together and fill the tank up with your favorite e-juice or oil concentrate.
Wait at least 10 minutes to allow the liquid to fully saturate the cotton wick. Waiting the full 10 minutes ensures that your vaping experience will be thorough and flavorful. This is the correct way to prime your coils prior to using them for the first time. Make sure you do this with all of them, otherwise you will risk not having your wicks fully saturated.
How to Properly Break in Your New Coil
Now that you have your coils properly primed and ready to go, you will want to now break them in so that they hit the ground running. This will make them last much longer. Start by setting the wattage to the lowest possible setting recommended by the manufacturer. Take short little hits to slowly break in your vape coils.
Take care not to overdo it at this stage, you still need to properly break them in. Increase the power by 5 watts and take a few normal hits, then increase it again by another 5 watts. Repeat this process until you reach the desired temperature setting in wattage for a vape session. This is how to properly break in your vape coils once they have been primed.
The upside to all this is that it is a very quick and simple process that is easy to undertake and understand. Taking these steps ensures your wicks won’t burn and will extend the life of your coils by a large degree. Always make sure you start out by priming the coils first before taking this step!
A Note on Priming MTL Coils
MTL stands for mouth to lung, which has an atomizer resistance above 1.0 ohms. Using this type of coil means that you will suck the vapor into your mouth and inhale from there instead of getting the vapor directly into your lungs from the vape. This is the type of vape that most smokers are accustomed to since it resembles the action of smoking.
Priming an MTL coil requires a bit more patience. These types of coils are also a bit smaller than sub ohm coils. To prime these types of coils, simply insert a new vape coil to the base of the tank. Fill it up with e-juice and assemble it all together. Allow the juice to completely saturate the wick by letting it sit in the tank for about 10 minutes.
After that you can start vaping to your heart’s content. Unlike standard vape coils that go straight to the lungs, MTL coils are a bit old school and reminiscent of smoking by using the same draw method. When it comes down to it, choosing either coil will be based on your vape device and your own personal preference.
Final Thoughts
Priming and breaking in a new vape coil is not at all a hard or tedious process. In fact, priming a nail is much more time consuming and somewhat costly depending on your method. Vapes require much more maintenance and a steeper learning curve than using a dab rig, though it is arguable given how beginners are more likely to mess up using a dab rig.
In either case, when using a new vape coil for the first time, whether you are a newbie or not, you will want to educate yourself and get to know a vape inside and out. Priming and breaking in a new coil is essential to avoid burning out your wicks and having a bad vape session. Doing all this will not only save you time and money but will extend the life of your coils and make for much better vape sessions.