For those who own vapors and you have been warned to check atomizer on the battery's display screen, you need to understand that it is not detecting the coil, or it cannot read it correctly.
The warning is the connection issue whereby the mod's 510 connectors are not making good contact with the coil, tank, or the pod. In such a case, when you notice any of those warnings, it is important to know that it cannot stand the resistance or detect a problem.

Step 1: Clean all the Contact Points
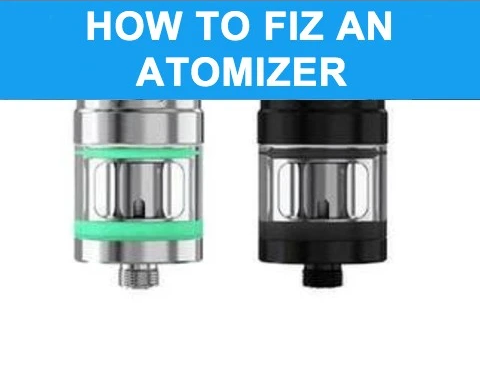
Consider removing the tank from your device and then carefully clean all the threads and the connections. The paper towel is always suitable for this kind of job. There is a single central pin that is often referred to as the 510 pins when it comes to mods and batteries. On the pod kits, you should be able to see all the contact points under the pod.
It is very normal to find grime, dust build-up, and an e-liquid concentration on the contacts. You are required to clean all the contact areas regularly.
Then screw the tank or insert the pod back into the mod by ensuring that the tank is firm and does not overturn. If the problem persists, continue to the next step.

Step 2: Reseat the Coil
On this, make sure to remove the coil from the tank and then try to reinstall it. Sometimes it can miraculously sort the entire issues.
You may also need to disassemble the tank as you would if you were changing the entire coil. It can bring a lot of inconveniences if the tank is full of juice.
When the tank is apart, consider unscrewing the coil from the tank base and then clean the coil bottom where it will screw into the tank and then make contacts. You may also want to do the same to your tank, cleaning the area inside the tank where the coil is sitting. When it is clean and dried, consider reinstalling the coil and also make sure you reassemble the tank.
If you still see the 'no atomizer' button, then it would be a good time to try another coil if the one you were using is old or burn.
When you want to check the error message without filling up the tank again, consider turning the power down and then press the fire button. Within a flash of a second, you will see the message.

Step 3: Checking the 510 Pin
For those using a traditional battery and the tank, it is advisable to consider checking the 510 pins on your tank and ensuring that it is connecting to the mod. Make sure to pull it out slightly and then reconnect it to the mod.
If you have a sub-Ohm tank, consider checking that the coil base connects to the tank base. You can always do this by pulling out the coil base slightly and ensuring not to pull it apart. It can break the wires inside.

Step 4: Trying another Tank
If you still cannot eliminate the error after replacing the coil with a new one, consider trying another tank. It is one effective way to establish or eliminate the problem.
Before you change the tanks, it is important to note that if the coil resistance is lower than 1.0 Ohm, ensure that the mod is safer to use with that coil. Most of the mods will fire down to even 0.5 Ohm. The standard batteries may probably not fire below the normal 1.0 Ohm. It is, therefore not advisable to put a coil with a sub-Ohm.
If the mod continues to read 'no atomizer' or 'check atomizer' with a tank, you will need to check the mod.
You can also try to check if the existing tank is working on another mod. If it does, and you still see the same error message, you should know that it will be an issue with the entire contacts on your tank.
If you continue seeing the error message, below is a summary of the tasks depending on the device:
Cleaning all the contacts on mod/battery, pod, or tank
Removing and reinstalling the coil after you are done with the cleaning.
Trying a new coil.
Checking the 510 pins and seeing if it is adjustable.
Trying to use another tank on the mod.
Trying to use another mod on the tank.
Adjusting the base of the coil.